Build a Face Filter App for Android with Unity and ARCore
Face filters are all the rage with Gen-Z. In fact, face filters are responsible for increasing Snapchat's DAU by 6-7 million users in Q2 of 2019. With so many teens flocking to use filters, it's only a matter of time before we start to see more apps including them as a feature.
Create your own face filter app with Unity and ARCore
In this tutorial, we'll create an Android app that lets users search for a face filter and try it on using ARCore. ARCore is Google's AR tracking software that allows you to track a user's face and place 3D AR objects on it.
To power our search and face filters, we'll use the Svrf API. Svrf is the first search engine for AR and VR content, and provides the 3D face filters we'll need to create an experience. Without Svrf, we'd have to create our own 3D models, which is a lot of work. Svrf has removed this layer of work for us and has even licensed content from major brands like Nicki Minaj and Katy Perry that we can include in our app.
What we will cover:
- Create a search interface with a search bar and results.
- Installing and setup the Svrf SDK for Unity plugin.
- Search and load face filters with the Svrf SDK.
- Install the Google ARCore SDK.
- Setup face tracking with ARCore.
- Apply Svrf filters to your face.
You will need:
- Unity 2017.4.26f1 or later with Android Build Support selected during installation.
- The Svrf SDK for Unity plugin and Svrf API Key.
- An ARCore supported Android phone.
- A USB cable to connect your phone to your development machine.
- ARCore SDK for Unity 1.10.0 or later.
- Android SDK 7.0 (API Level 24) or later, installed using the SDK Manager in Android Studio.
Building the interface
Setting up the Unity project
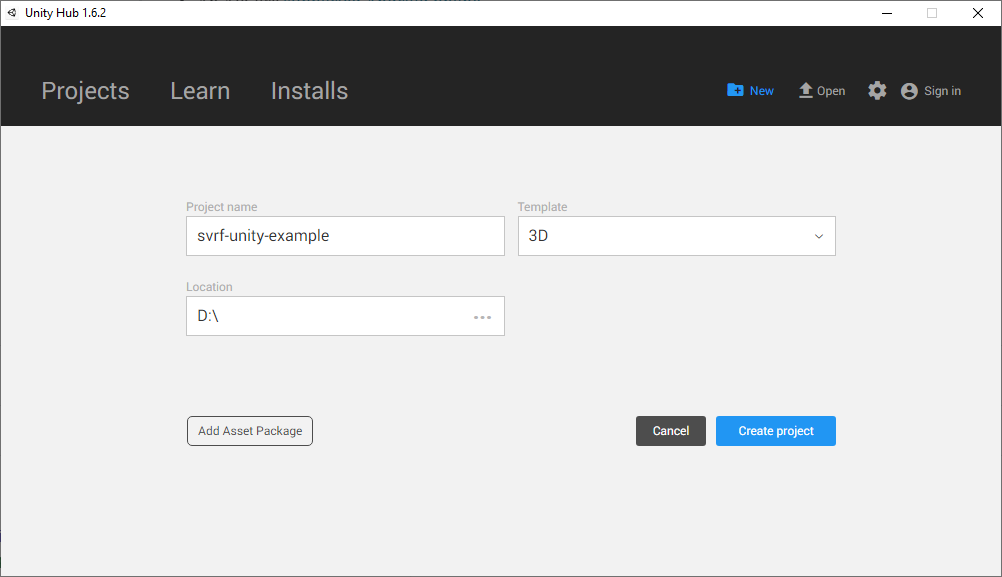
First, let's open Unity and create an empty Unity project. Here I've named the project svrf-unity-example and selected the 3D template. Now click the Create project button.
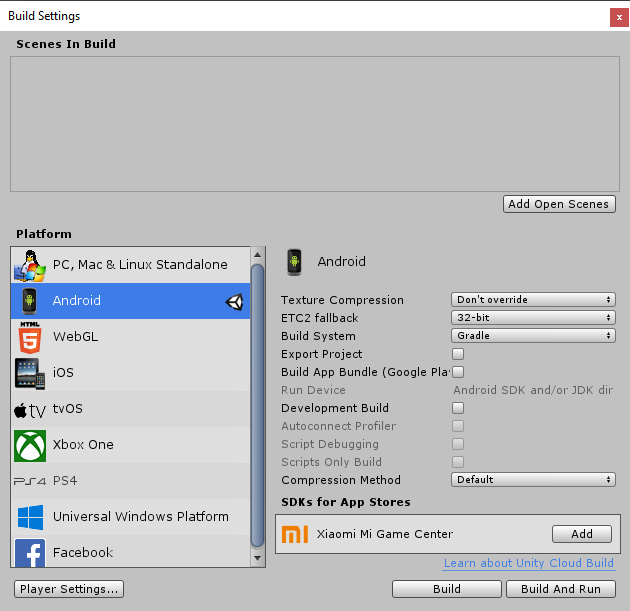
Since we are building an Android app, we'll adjust the Build Settings to support Android devices. Go to File > Build Settings and select Android from the platforms list. Then click Switch Platform.
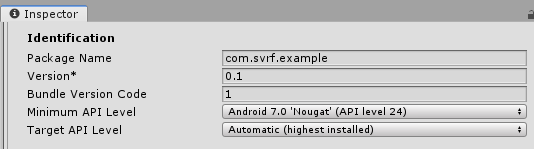
Now, click on the Player Settings. Open the Other Settings section and set Minimum API Level_to the version that you have on your computer. You can also modify the _Package Name. Here we've set it to "com.svrf.example".

Open the XR Settings section and check ARCore Supported checkbox.
Adding the Event System
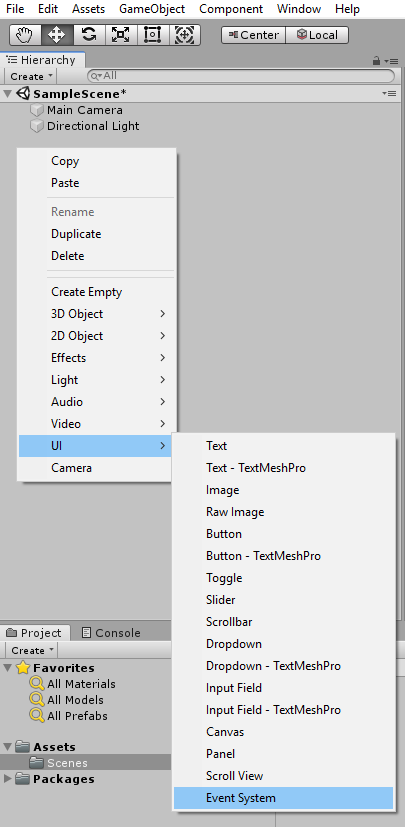
Right click on the Hierarchy window and select UI > Event System.
This is required for handling user input events. We just need to add it.
Setting up the UI elements
The first thing we'll set up are some basic UI elements. Let's start by creating a search input so users can query for a face filter.
Right click on the Hierarchy window and select UI > Canvas. This will add a Canvas element in your Hierarchy window. Next, we'll add UI elements to the app's Canvas.
- Right click on the Canvas and add a Panel.
- Then, right click on the Panel and add an Input Field.
- Again, right click on Panel, but this time add a Scroll View.
Users will use the Input Field to enter a search query for finding a face filter, while the Scroll View will show the search results.
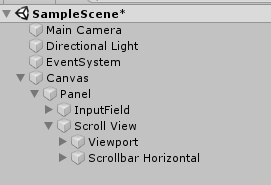
Once we add these components, they will be listed under the the same Panel in the UI menu. Next, we'll remove the Scrollbar Vertical child of the Scroll View. Select and delete it since we will not be using it. Now, we should have a game objects structure that looks like the image above.
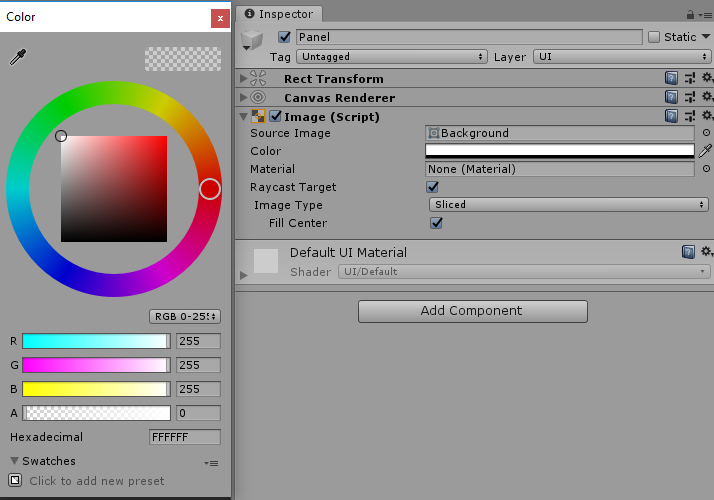
Open the Panel in the inspector and set its alpha color (A) value to 0 so it won't overlap the loaded 3D face filter model.

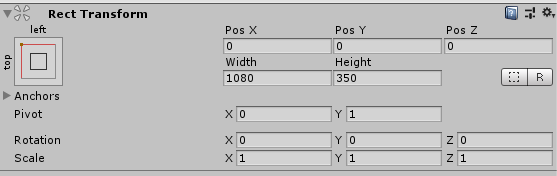
Now we are going to position the Input Field. Open the Input Field in the inspector and select stretch-top alignment first. Then, enter the positional values shown in the image above. This will place the search input at the top of the screen.
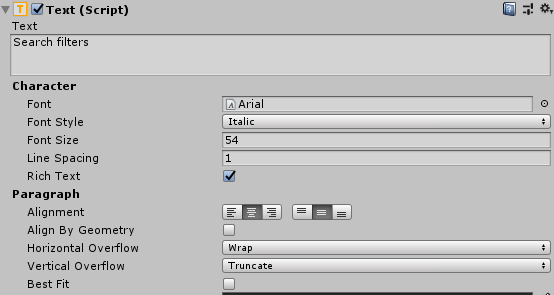

We can now customize the Text in the Input Field. Open the Placeholder and adjust its font size and alignment. Also you can change its default text. Here we've set the default text to "Search filters".
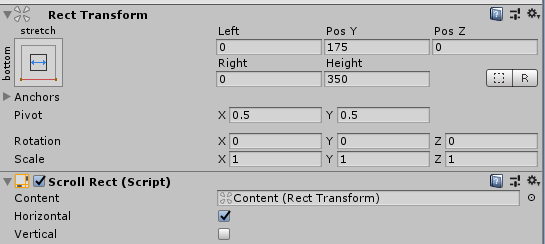
Now, we'll move the Scroll View into position. Open the Scroll View and copy the transform settings shown above.
We also need to position the Content inside the Scroll View. Open the Content settings which can be found nested under Scroll View > Viewport. Copy the transform values shown above.
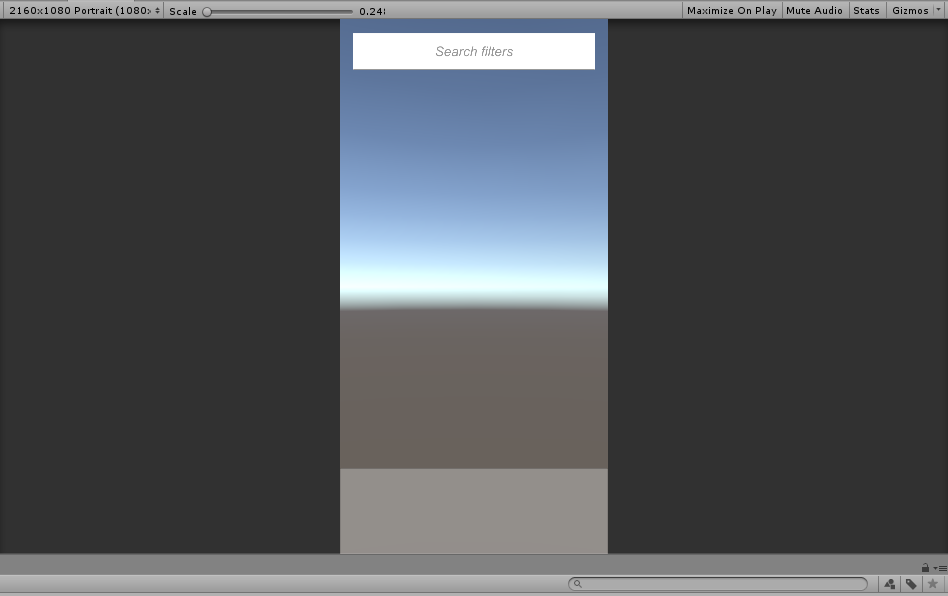
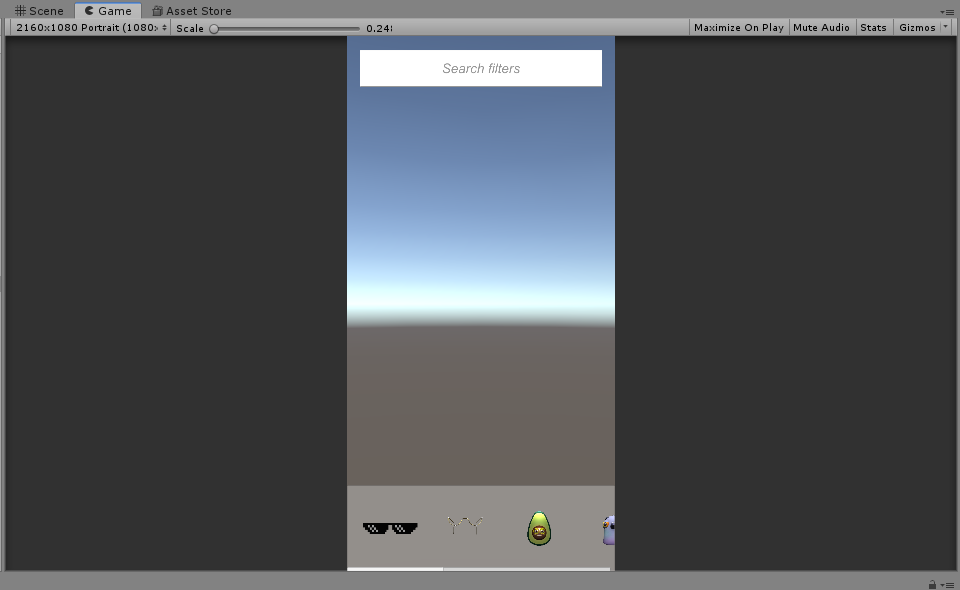
Now that we've got our basic UI elements setup, let's launch the application for the first time. You should see something like this. The top input will be used for searching for face filters. The bottom scroll view will contain previews of the search results.
This looks like it needs something more exciting. In the next part, we'll add face filters from the Svrf API. Click to the next page to see how it's done!
Loading 3D face filter models from the Svrf API
Now that we've setup the basic UI elements for our Face Filter application, we need some face filters to add to our application. The Svrf API is an API that provides a way to search and find trending AR and VR content, including face filters. We'll use the Svrf API to power our app's 3D face filters.
Create a Svrf API key
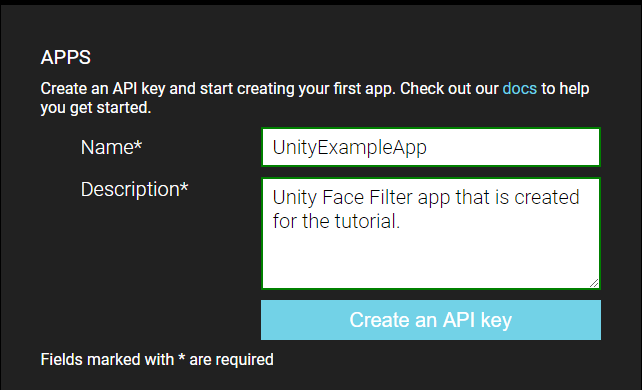
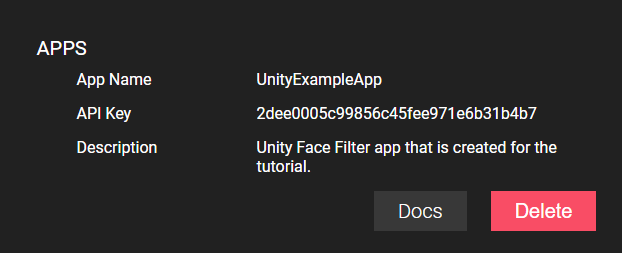
Accessing the Svrf API requires an API key. We can get an API key by creating a Svrf user account. At the bottom of the user settings page we can create an API key.
Install the Svrf on Unity
Copy this API key value as we'll need it in a little bit.
Next, we need to download the latest release of the Svrf SDK for Unity. Once we've downloaded the package, we need to install it into our Unity project.
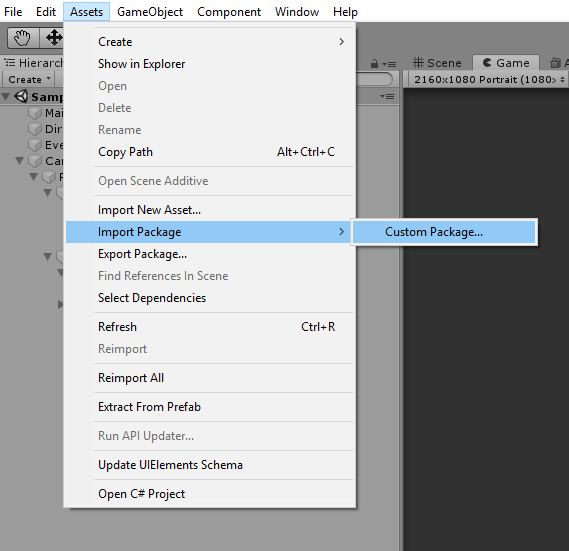
Installing a Unity package can be done in 3 simple steps:
- Select Assets > Import Package > Custom Package.
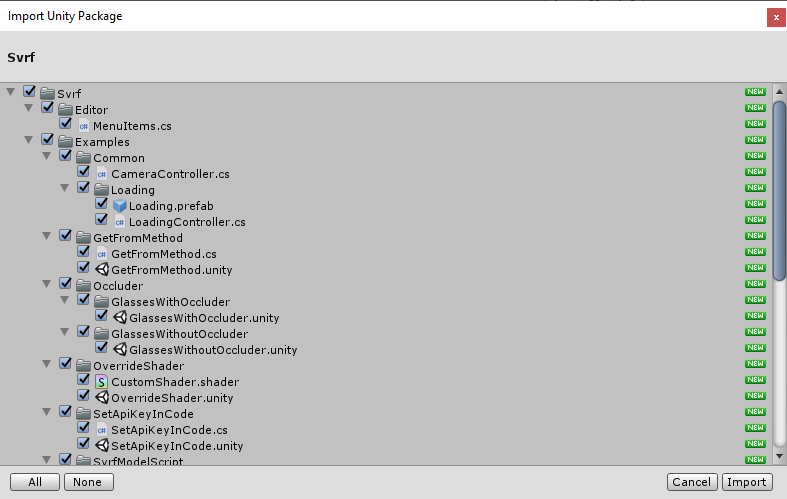
- Select the
Svrf.unitypackagefile that you downloaded. - In the Importing Package dialog, click Import.
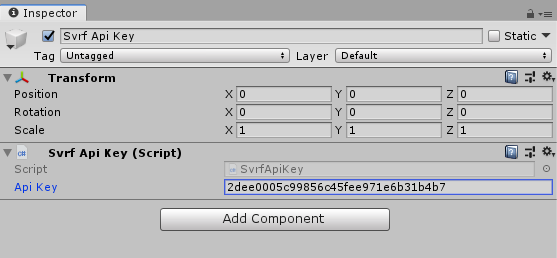
Authenticate your Svrf API Key
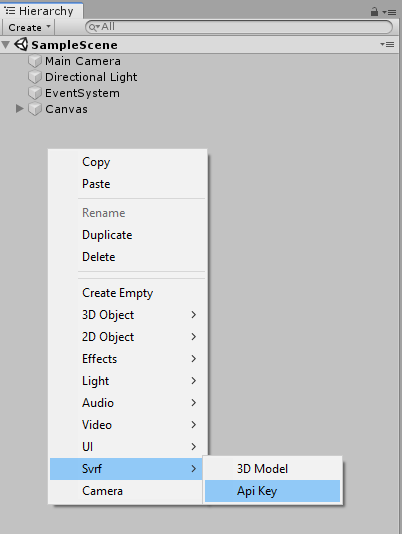
To authenticate into the Svrf API, we'll use the API key we copied earlier. Now, we need to add that API key to our application. Right click on the Hierarchy panel and select Svrf > API Key from the dropdown. Then, paste the Svrf API key in the Inspector panel.
The main controller
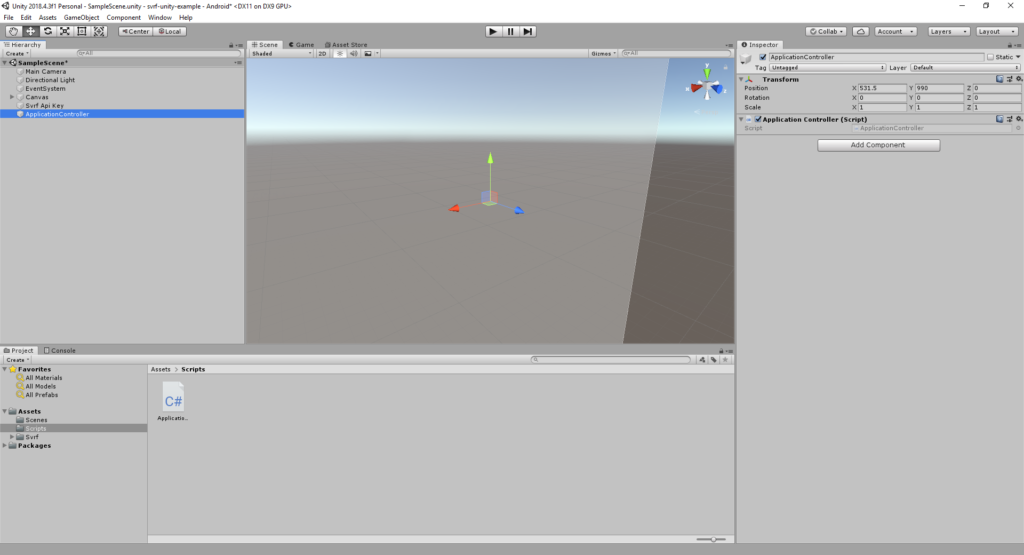
Now we're gonna create application controller that will be responsible for loading models and interacting with other controllers in your app. First, create a new Game Object and name it ApplicationController. Then, create a Scripts folder in our project.
We'll need to create a new script that will talk to the Svrf API. In the Scripts folder we just created, create a Script also named ApplicationController. Then, add the ApplicationController Script to the ApplicationController Game Object.
Now it's time to add the code to our script. Open the Script we just created and insert the following code there.
When a user enters a search query, the SearchFaceFilters method calls the FetchFaceFilters method. If a query has not been entered, such as when the Start method is triggered,FetchFaceFilters will request trending face filters. Pretty straightforward, huh?
Async Methods
It's not recommended to use async methods without returning a Task. This is because errors that are thrown from it can't be handled. We aren't in this tutorial to keep things simple.
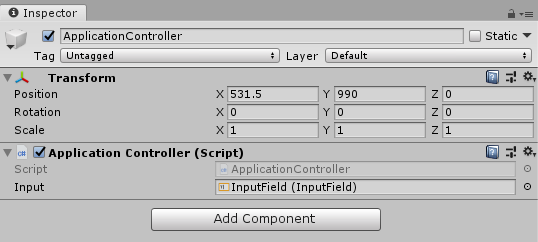
As you may have noticed, we have to provide public InputField Input; a Game Object. Open the ApplicationController in the inspector panel and drag & drop the InputField game object to the Input property.
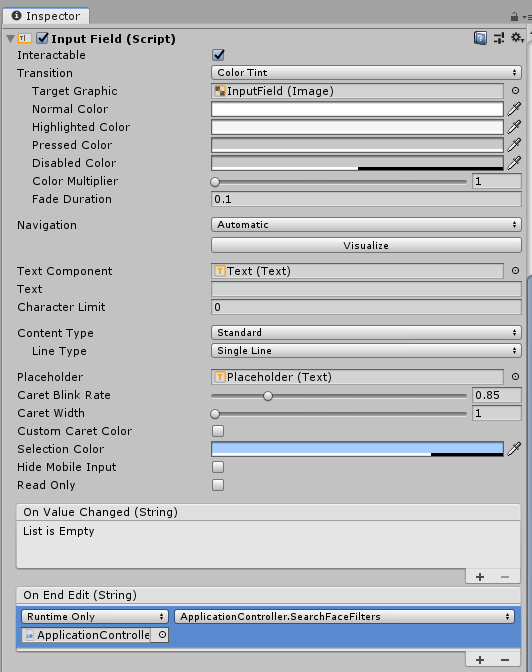
If a user changes the search query, we want to call SearchFaceFilters to run on the new search query. To do that, open InputField in the inspector and scroll down to the On End Edit section. Add a new item to the section, drag & drop the ApplicationController game object (not the script) there and select the SearchFaceFilters method.
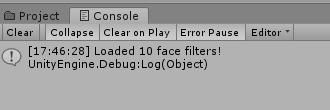
After fetching face filters, a Debug.Log will print. We should see something like this if we've done everything right so far!
Creating a face filter preview button
Okay, we've fetched some face filters, now we need to show their previews at the Scroll View. Previews will let users know what face filter they're selecting.

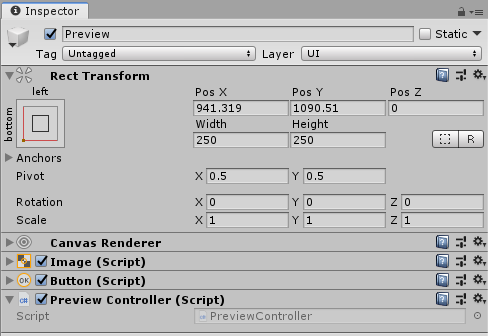
Let's first create a Button game object on the scene and name it Preview. Set the Anchor Preset to left-bottom and size to 250x250. Remove the button text in the child Text game object. This button will make a nice square button that we'll show the preview on. When the user taps the button, we'll make it render the face filter they've selected.
Then, create a PreviewController script in the Scripts folder and add it to the Preview game object. This script will help us set the preview on the button.
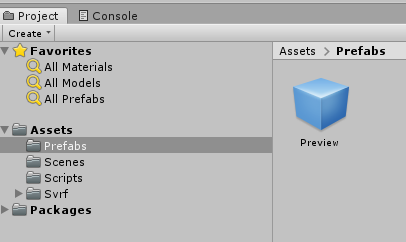
Now create a Prefabs folder and drag & drop the Preview game object into it. We now have a prefab with the PreviewController applied to it. Remove the Preview game object from the scene—we'll use the prefab to create model previews in the run-time.
The PreviewController script will accept a MediaModel instance returned from the Svrf API. It'll then fetch the model's 720x720 preview image and set it as a button texture. Now, open the PreviewController script and paste the following code:
Positioning the preview button
Now that we have our preview button created, we need to position it in the ScrollView. Create a controller for the ScrollView. This script will place each preview button in the correct positions. Create ScrollViewController script and insert the following code there:
The script calculates preview button coordinates, and for brevity, we won't get into how that works. The script also contains callbacks for when a user clicks on a preview button.
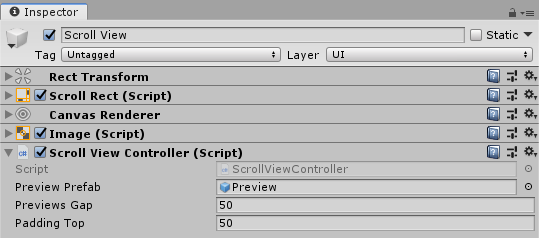
Now, attach this script to the ScrollView game object. As you can see, the script requires a PreviewPrefab to be passed to it. Drag & drop the Preview prefab we created to it.
Adding face filters to the Scroll View
Now that we have our preview buttons working, we can add one for each face filter returned by the Svrf API. Let's put the preview buttons in our horizontal Scroll View in our ApplicationController.
First, we'll modify the ScrollViewController to fetch face filters. Modify the controller with the code below. As you can see, we've made changes to the SearchFaceFilters method and add a new method, AddToScrollView. In the AddToScrollView method, we added a ScrollViewController field that we can use to add the face filter.
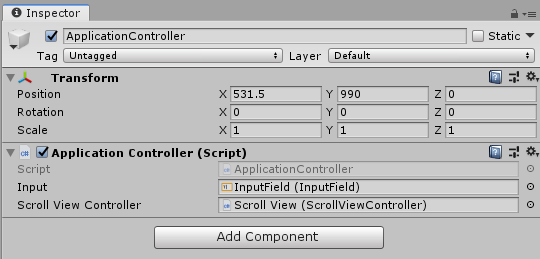
Open ApplicationController in the Inspector window and drag & drop the Scroll View game object to the Scroll View Controller field.
Now, let's run the application. We should now be able to see the trending face filters previews!
Loading a 3D model
Create FaceFilterContainer game object and new C# script FaceFilterController. Attach the script to the game object in the same way we did it for the ApplicationController. Also set its coordinates to 0.
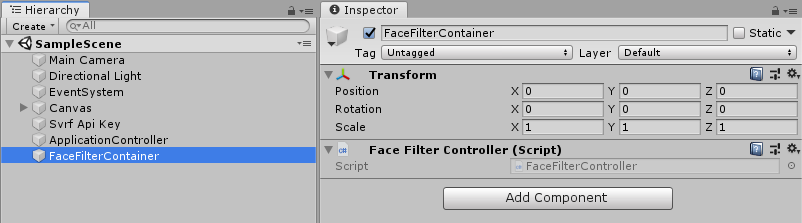
For now we need FaceFilterController only for storing reference for the current model. Open it and insert the following code.
Open ApplicationController, add field for storing FaceFilterController. Also add OnLoadFaceFilter method and set it as callback in the Start method.
The OnLoadFaceFilter method removes the old face filter (if there is one). It also loads a new one with the SvrfModel.GetSvrfModelAsync method, which returns a new game object with the face filter. Then we put the face filter into FaceFilterContainer game object.
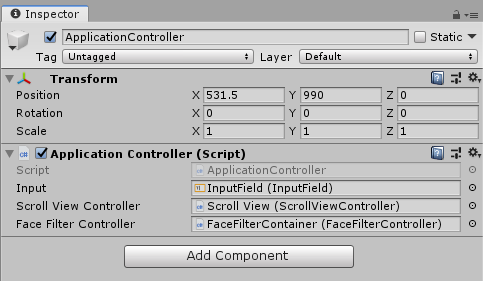
Open the ApplicationController game object in the Inspector and drag & drop the FaceFilterContainer game object to the FaceFilterController field so we can use it inside the ApplicationController class.
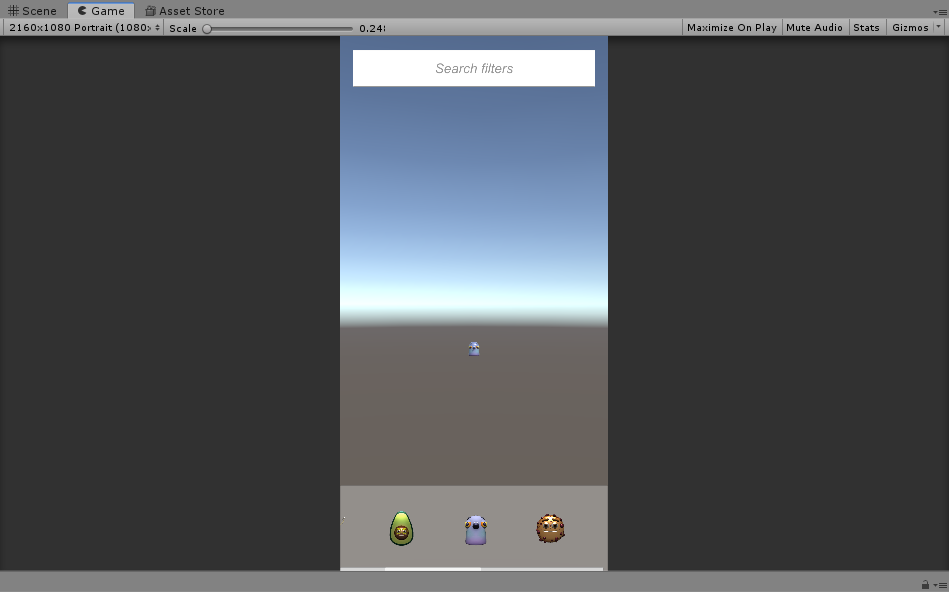
Run the application and click on any preview and wait a moment for the model loading.
For now, you can play with camera position to make it closer. However after the next section you won't need to since we'll use ARCore to map the user's face to the model.
Integrating with Google ARCore
Now that we can load 3D face filter models into our application, we need to attach it to the user's face. To do this, we will use Google's ARCore face tracking technology.
Installing ARCore
To get started with ARCore, we'll need to download and install it.
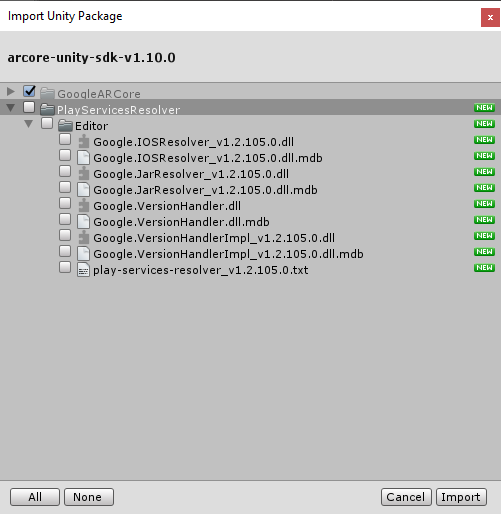
- Select Assets > Import Package > Custom Package.
- Select the
arcore-unity-sdk-v1.10.0.unitypackagefile that you downloaded (the version may vary). - In the Importing Package dialog, uncheck the PlayServicesResolver folder.
- Click Import.
Adding an ARCore session
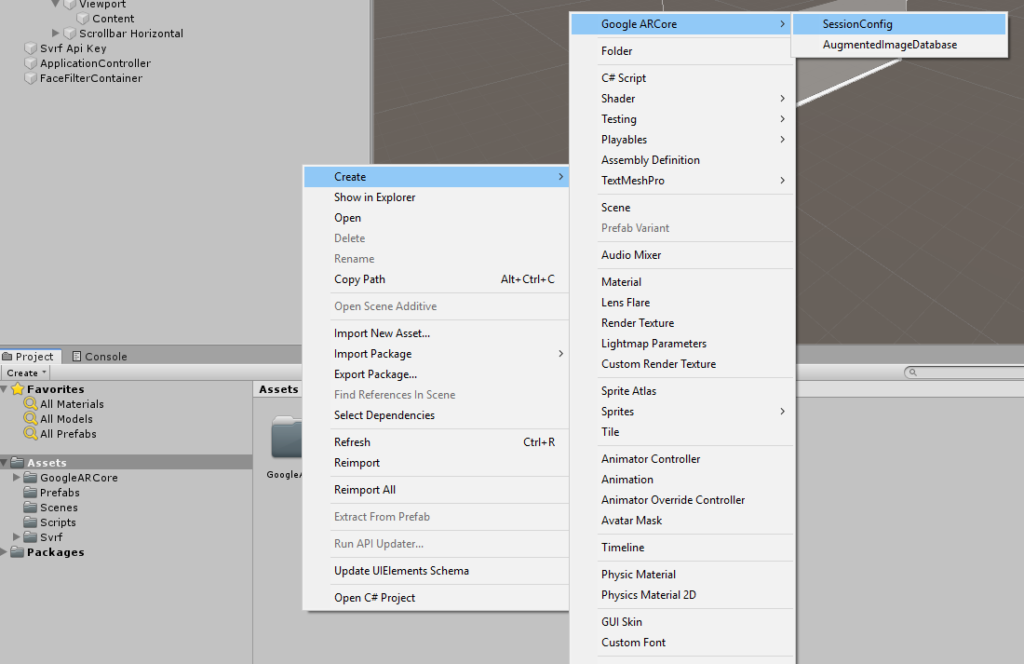
Now, let's setup ARCore in our app. First, create a new folder and name it Configuration. Open it in the Project panel and right click on its content. In the dropdown select Create > Google ARCore > SessionConfig.
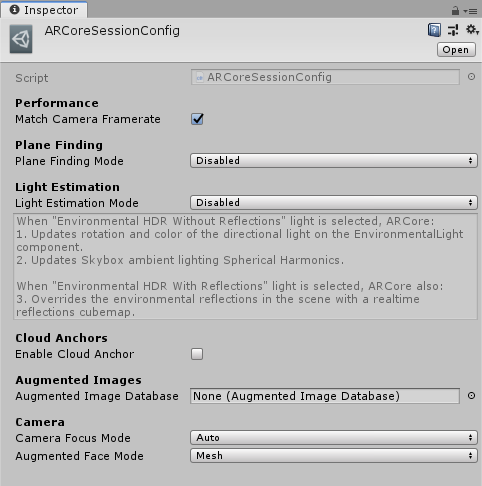
Now we need to properly configure our ARCore session. Open the Session Config inspector and enter the settings in the image above.
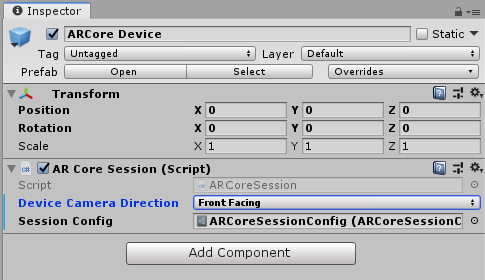
Now, remove the Main Camera and drag & drop the prefab GoogleARCore/Prefabs/ARCore Device.prefab to the scene.
Then, open a new game object in the inspector. Set the Device Camera Orientation to Front Facing.
Click on the circle right to Session Config field and select ARCore config that we've just created (it's named ARCoreSessionConfig by default).
Selecting the front facing camera
Unity may complain that you need to choose the Front Facing camera even after you've chosen it. In that case, just relaunch Unity.
The only thing left is to apply the user's head position to the face filter model. To do so, open the FaceFilterController and replace its content with the following code:
Session.GetTrackables adds face tracking information to a list. The script saves the face (only one face can be tracked) and applies its position and rotation values to our model.

What's next?
This is just the beginning of your face filter app. You can add many more features such as pagination with infinite scroll and loading indicators. If you're interested in these features you can check out our example application. Download it and have fun!
About the Author
Roman Chaley is a Full-Stack Software Engineer at Svrf.